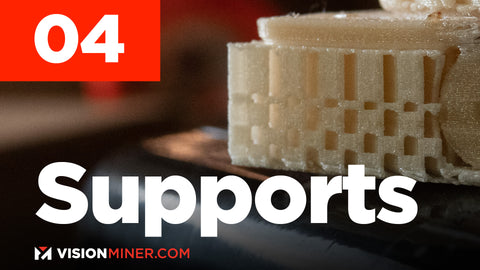
The key to supports is understanding how plastic rests after being printed. Naturally, 3D printers are incapable of printing in mid-air, so we utilize support structures to give features such as overhangs an area on which to print. All of the material used as support can be seen as sacrificial material you remove once the part is done as its sole purpose is to build up to the point at which the part begins.
With supports, your settings pertain specifically to the separation layers. Depending on layer height, interface layers will change. At 0.1 millimeter layer height, Vision Miner recommends leaving two separation layers. For 0.2mm layer heights, you can usually stick to just one separation layer.
These settings are also subject to change depending on your material. If you’re printing PEEK vs PLA, you’ll need different settings. PEEK is going to fuse together at 400C, PLA is generally easier to remove at a 200C area.
When it comes to tuning in for supports, the automatic setting in your slicer will suffice, especially for basic materials like ABS and PLA. Nevertheless, your slicer may place supports where they cannot be removed. For example, if you are printing something hollow and your slicer places supports everywhere inside, you won’t be able to remove them unless you have a large, accessible cavity.
To avoid such an issue, you should dive into your slicer and select the option to build supports from the build plate instead of building them from everywhere. This will prevent supports from being constructed anywhere but the outside.
If you want to get more advanced, you can download the Simplify3D program and that allows you to place supports wherever you want.
The best way to print 3D parts is to design items that do not require supports which are hard to remove, waste material, and add time to the print job. If you can avoid it, that’s fantastic.
If you’re interesting in learning more about tuning, check back on the blog for more updates and visit our YouTube channel for more videos!
Leave a comment